To make a door, you need patience and precision. Start by choosing quality wood and measuring carefully. Next, cut the wood to the desired dimensions using a saw. Assemble the door by attaching the pieces with screws or nails. Customize the design with hinges, handles, and a latch for a functional and beautiful final product. Making a door is a rewarding DIY project that adds a personal touch to your home.

How to Make a Door: A Step-by-Step Guide for Beginners
Welcome, aspiring DIY enthusiasts, to this comprehensive guide on how to make a door from scratch! Doors are not just functional elements in our homes; they can also add character and charm to any space. In this article, we will walk you through the process of creating your very own door, allowing you to customize it to suit your personal style and needs. So, roll up your sleeves, grab your tools, and let’s get started!
Gathering Materials and Tools
Before you embark on this DIY journey, it’s essential to gather all the necessary materials and tools. Here’s a list of what you’ll need:
Materials:
- Wood planks
- Wood glue
- Nails or screws
- Door handle
- Hinges
- Sandpaper
- Wood stain or paint
Tools:
- Saw
- Hammer or screwdriver
- Measuring tape
- Sandpaper or sander
- Paintbrush
- Protective gear (gloves, goggles)
Step 1: Planning and Design
Before you start cutting any wood, it’s crucial to plan out your door design. Consider the size, style, and functionality you want for your door. Measure the door frame to determine the dimensions of your door accurately. Sketch out your design on paper to serve as a guide throughout the construction process.
Step 2: Cutting the Wood
Using a saw, carefully cut the wood planks to the dimensions specified in your design plan. Make sure the cuts are precise to ensure that the door fits perfectly in the frame. You will need wood planks for the door panels, stiles (vertical pieces), and rails (horizontal pieces).
Step 3: Assembling the Door
Now comes the fun part – assembling your door! Start by laying out the door panels, stiles, and rails according to your design. Apply wood glue along the edges of the pieces and carefully join them together. Use nails or screws to secure the joints and reinforce the structure of the door.
Step 4: Adding Details
To give your door a polished look, consider adding decorative details such as panels, moulding, or carvings. These details can elevate the aesthetic appeal of your door and make it stand out. Get creative with your designs and let your personality shine through!
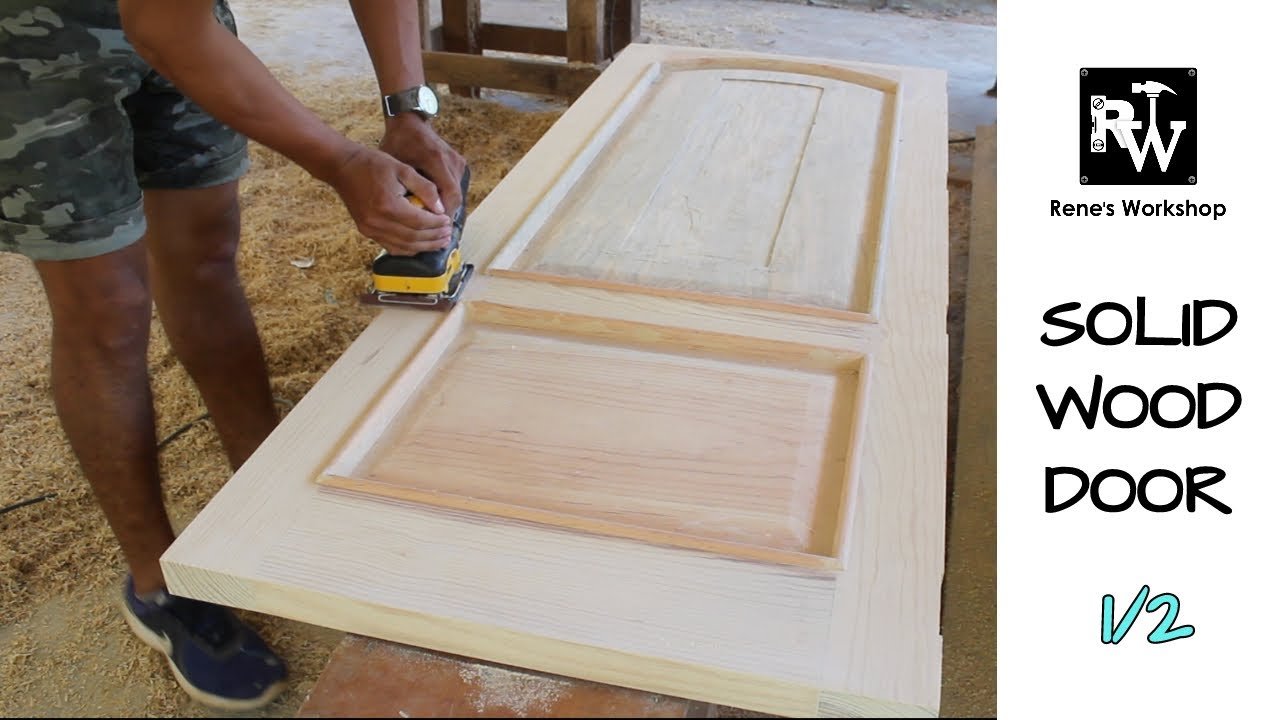
Step 5: Sanding and Finishing
Once the door is assembled, use sandpaper or a sander to smooth out any rough edges or surfaces. Pay close attention to the corners and edges to ensure a seamless finish. After sanding, you can apply wood stain or paint to enhance the appearance of the door and protect it from damage.
Step 6: Installing Hardware
Before you can hang your door, you’ll need to install the necessary hardware. Attach hinges to the door and door frame, ensuring that they are properly aligned. Then, install the door handle or knob according to the manufacturer’s instructions. Test the door to make sure it opens and closes smoothly.
Step 7: Hanging the Door
With the hardware in place, it’s time to hang your newly crafted door. Carefully place the door in the frame and attach it to the hinges. Make any necessary adjustments to ensure that the door fits snugly and opens and closes correctly. Congratulations, you’ve successfully made and installed your own door!
Remember, the key to a successful DIY project is patience and attention to detail. Don’t be afraid to make mistakes along the way – that’s how we learn and improve our skills. So, whether you’re building a door for a cabinet or a room in your house, enjoy the process and take pride in your handmade creation!
Now that you’ve learned how to make a door, the possibilities are endless. Get creative, experiment with different designs, and showcase your craftsmanship in every project you undertake. Who knows, you might just discover a new passion for woodworking along the way. Happy crafting!
Making Doors for about $35 | Woodworking
Frequently Asked Questions
How can I start making a door from scratch?
To begin making a door from scratch, you will need to gather the necessary materials, such as wood panels, hinges, doorknob, and tools like a saw, drill, and measuring tape. First, measure the doorway to determine the size of the door. Then, cut the wood panels to the correct dimensions and assemble them together using glue and screws to create the door frame.
What is the recommended wood type for making a sturdy door?
For a sturdy door, it is recommended to use hardwood such as oak, mahogany, or maple. These types of wood are durable and less prone to warping or damage, making them ideal for ensuring the longevity of your door.
How do I install hinges and a doorknob on the door I have made?
To install hinges and a doorknob on the door you have made, mark the locations where the hinges and doorknob will be attached. Use a chisel to create recesses for the hinges and secure them with screws. Then, drill holes for the doorknob and latch mechanism, following the manufacturer’s instructions for installation. Finally, attach the doorknob and test the door to ensure smooth operation.
Final Thoughts
In conclusion, making a door is a rewarding DIY project that can enhance the functionality and aesthetics of your home. Start by taking accurate measurements and selecting high-quality materials. Use proper tools and techniques to assemble the door frame and attach the panels securely. Finish by adding the necessary hardware for functionality and style. Following these steps on how to make a door will result in a beautifully crafted and functional piece for your home.